
Product Review: Amadine for MacOS
A Simple Vector Application for Every Skill Level
Disclaimer: I have been given a full license of the MacOS version of this app in return for an unbiased review.
Introduction
Before I start, I have to admit that I am not an expert in working in vector format. Since moving my works into the digital format, I found the raster format more intuitive and capable of producing my style of drawing. Hence, I spent a lot of time on Procreate or Affinity Photo and, recently, Adobe Photoshop.
But recently, when I had to rebrand my website, I started working in vector, I was surprised by a few things,
Its flexibility - I can resize the image as much as I would like, and the integrity of the image would not be affected. In addition, I can edit the lines I’ve placed without worrying about affecting the other elements surrounding the line or object.
The complexity - There’s one thing about moving from working in raster to working in vector: the steep learning curve. Jumping straight into a vector app like Affinity Designer or Adobe Illustrator can be intimidating, and I often get lost in the interface.
I have had some experience using other vector apps in the past, such as Vectornator (now known as Linearity Curve), but they’re just as confusing to me.
Then, Amadine came into the picture. Please note that this review is based on Amadine version 1.6.2 for macOS. There is a separate app for iPadOS and iOS.
My knowledge of vector apps is not as extensive compared to other digital artists and designers out there. I have only Affinity Designer and Adobe Illustrator to compare to. It may sound like an unfair comparison as they are both on the premium side, but keep reading as you will find out why I would prefer Amadine over the other applications that I’ve tried in the past.
At First Glance
Upon opening the app, you’re greeted with a start window that gives you several options. Create a new document, open an existing document or go to the tutorials to learn how to use the app, just like what most apps have.
The app has several common presets for popular file sizes. In addition, you can make a custom one that suits your needs. However, I noticed that there’s no option to save your custom presets. Hence, I would have to put in the figures and adjust the settings myself every time I want to create a file that is not among the available presets. But it’s not a problem as you can resize the file at any time or create multiple artboards, which, in the app are, called ’Sheets’, of various sizes.
Interface
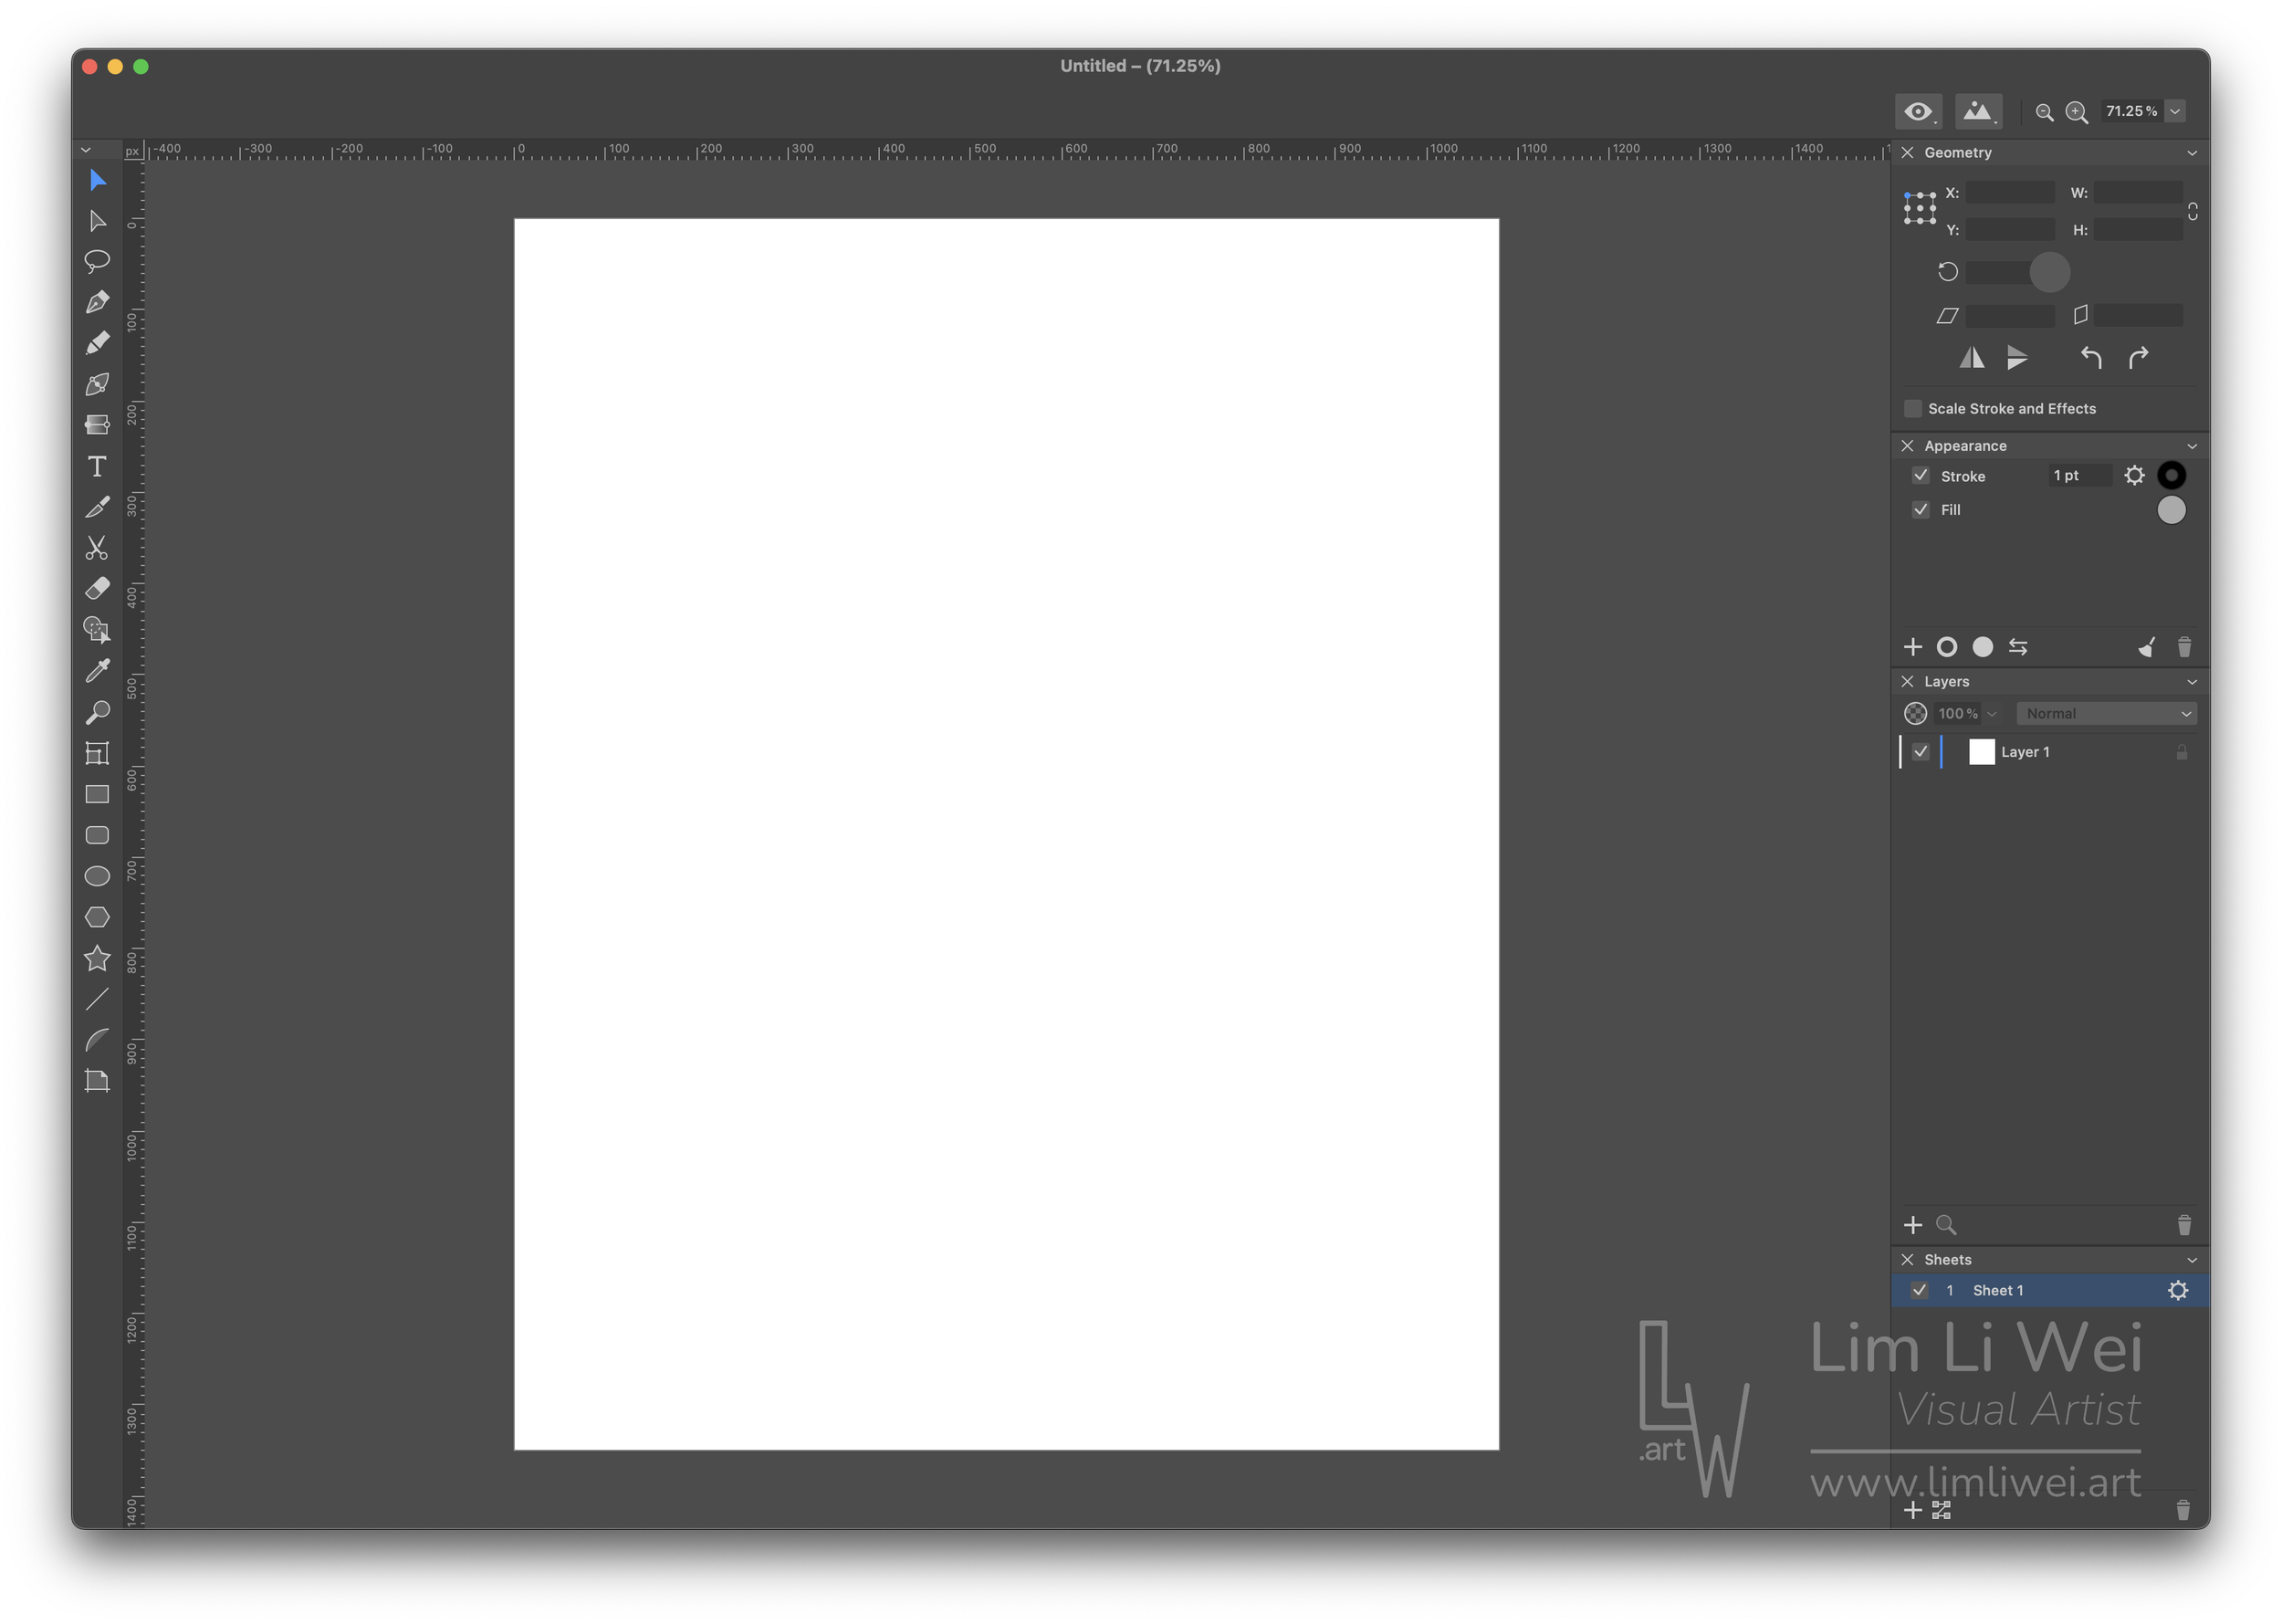
Figure 1: Interface Overview
The interface is simple enough, as shown above. I did not have to dig deep to find all the tools that I needed. Unlike Adobe Illustrator or Affinity Designer, which are packed with features, Amadine’s features are, in comparison, more basic, and that’s not a bad thing.
The tools that I've used and tested are just a fraction of the tools that the app offers. The full list of features and tools is available on their website, and I will not go through it all here.
In addition to the basic vector tools, Amadine has a built-in library of icons and shapes as quick access to royalty-free images from Pexels, Pixabay and Unsplash.
If you’re a beginner like me, who frequently gets lost in vector editing software, their short tutorials (which are conveniently accessible on the menu) are extremely helpful in most cases to learn how their tools function.
You can effortlessly pick up the app, go through the short tutorials (if you need to), and get into creating quickly.
Creating on Amadine

Figure 2: Working with Amadine
A few tools which I used mostly are the line width tool and the flowing text function, which I utilised to make mockups of my website’s blog layout. It is also a helpful tool for making posters or other files with tons of text, like an illustrated document.
Initially, I used this app for tracing and making small designs for some products, which I will upload soon on the Collections page. But I find myself constantly going back to this app after getting frustrated with Adobe Illustrator's complicated menu and interface.
Why do I use this app instead of the Adobe Suite, which I’ve paid an exorbitant amount of money to subscribe to, you may ask.
Well, it’s because Amadine is easier to use, and it makes my workflow much faster.
I have used Amadine to create all the icons on this site. It’s a breeze to create and export. In terms of ease of use, it is incredibly simple. The list of files supported can be viewed on their website.
In the aspect of fonts, Amadine will load all the font types which are installed in your operating system. Unlike the more premium products like Adobe Illustrator, it does not come with a font library. But you don’t have to worry too much about that, as Google Fonts is a great source for many great royalty-free fonts.
I worked on Affinity Suites and Adobe Suites, and transferring paths and shapes with copy and paste is swift and easy. But in the case of transferring a copy of something I did on Adobe Illustrator (for example) to Amadine, I would have to export it in SVG format before loading it into Amadine. So, there’s an extra step there, but it didn’t bother me too much.
Amadine does not come with a lot of photo editing functions. It is strictly focused on vector works.
But other vector artists may utilise this app more effectively compared to what I am capable of producing. Have a look at Amadine’s website or their Instagram Page, where they have featured a huge amount of fantastic illustrators creating impressive works with the same app.
Pricing and Value
For an app with a lifetime license at the price of $29.99, you can not expect Amadine to have premium features like what the Adobe CC subscription is offering, such as AI features, Cloud Storage, Live Tracing, and more fonts than you would ever need.
You can utilise iCloud storage to save your work and pick it up later on the iPad or iPhone (which requires a separate license, as I understand).
In addition, BeLight Software, the developer of Amadine, is constantly keeping the app updated.
Conclusion
I would recommend this app to anyone looking for a simple and affordable vector app without all the extra features that other premium apps are offering. As its price tag is much cheaper in comparison to Serif’s Affinity Designer, it all depends on what you are looking for and what you need in your workflow.
Aside from designing and illustrating, using it to make a mood board is also a good idea since the sheets can be easily resized and are flexible enough to have multiple panels arranged in all sorts of configurations. The creative genius is within you.
In terms of comparison, I am not an expert in many designing apps. In my experience with Serif's Affinity Suite, they did upgrade to V2, which meant I had to fork out extra cash to upgrade to use their newer features.
I am not sure about Amadine. Will the developers of Amadine release an Amadine 2 that would make us purchase a separate license to use its newest features?
Anyway, there is a free trial available on all platforms. You can try it for yourself.
If you’re interested, have a look at their website or look it up on App Stores.
Pros and Cons
Pros:
Simple and Intuitive.
Easy to learn for beginners.
Low one-time payment for a lifetime license.
A good amount of tools to simplify your workflow.
Plenty of supported formats for export and import.
Discounts are available for Non-Profit and Educational Licenses.
Cons:
Can’t save custom presets
There are auto-save functions, but manual save is recommended.
Lifetime license is for MacOS. iPads and iPhone versions require a separate license with an option for subscription.
Only available for Apple Devices.
Other points:
No AI functions: This can be a good thing for some users but lacking for others.